So, in this piece, I am going to tell you how you can easily scan and share documents on iOS and iPadOS without using any third-party scanning apps. The feature is available in two apps, “Notes”, and “Files”, that come pre-loaded in the iOS and iPadOS devices.
How to Use “Notes” to Scan Documents
So first, let us take a look at how we can use the “Notes” app in iOS and iPadOS to easily scan documents and share them as PDFs.
Locate the “Notes” app icon on your iPhone or iPad. Long press (for Haptic-touch devices) or hard press (for 3D-touch devices) on the app icon to reveal a pop-up list.
From this pop-up list, select the “Scan Documents” option. This will take you inside the app, create a new note, and directly open the camera of your device. Now, place the document you want to scan under the camera accordingly and wait for the app to detect it.
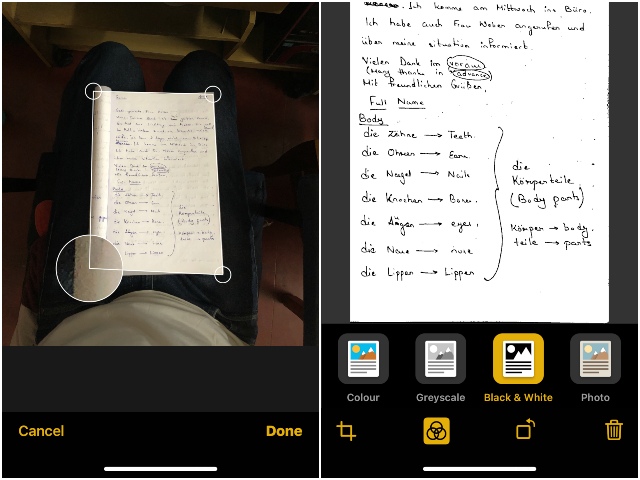
Once a yellow margin appears, signaling the detection of the document, the app will capture the scan automatically. It will then open up the in-app editor for you to crop or add filters to the scan.
Once editing is done, you can keep scanning other documents or tap the “Save” button to save the existing ones. Now, you can open up the scanned document(s) and tap the “arrow-with-a box” button on the top right corner to share the document(s) via email, WhatsApp, and other third-party apps.
So, this is how you can use the “Notes” app to scan your documents quickly and easily.
How to Use “Files” to Scan Documents
Now, let’s see how the scanning feature works in the “Files” app.
Locate and open the “Files” app on your device. Go to the “Browse” section of the app. Tap the “three-dots-inside-a-circle” button at the top right corner.
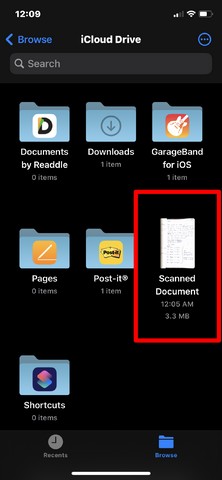
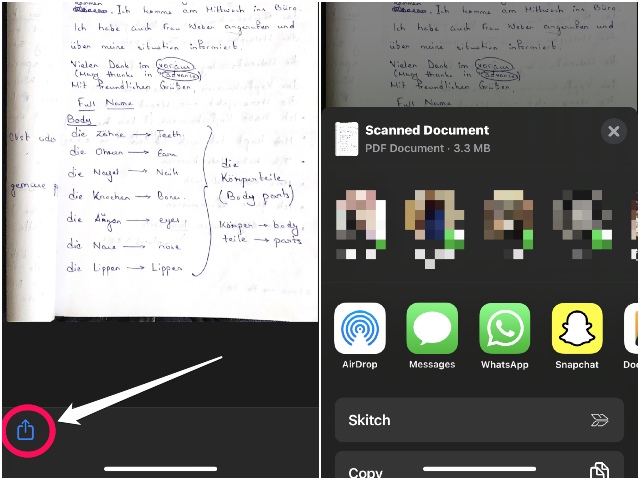
Select “Scan Documents” from the drop-down menu. Follow the previous steps to scan your document(s). Now, once you tap the “Save” button to save your scan(s), you will have to select the location where you want to save your files. Once you save the file, go to the location where it saved and open it to share as a PDF using the dedicated share sheet.
However, in the “Files” app, the share sheet button is located at the bottom left corner, instead of the top right corner like in the “Notes” app.
And this is how you can use the “Files” app on your iOS and iPadOS devices to scan documents. Now, it is pretty awesome that iOS and iPadOS offer the feature natively in the system apps. Personally speaking, I found the feature of the “Notes” app easier to use than the same feature in the “Files” app. It is mainly because there is no way to directly open the camera from the Haptic-touch or 3D-touch menu in the “Files” app, unlike in the “Notes” app. And if you are still thinking about the language in my scanned document, let me clear it out. It’s Deutsch or simply German. So, if anyone from Germany is reading this, please pardon my mistakes in the document. Es tut mir leid. Ich bin ein Student!