Send iMessage Effects with Voice Control on iOS
Haven’t yet tried out Voice Control? It would be apt to get through it first up for a better understanding.
What is Voice Control and How Does It Work?
For those uninitiated, Apple introduced “Voice Control” in iOS 13 and iPadOS 13. You can use it to carry out just about anything. Whether it’s launching apps, editing text, adjusting the volume, or even restarting the device, it can let you perform actions with just your voice. Though Voice Control is basically designed for people who have difficulty in controlling the device using fingers, anyone can take advantage of this Accessibility feature to perform tasks hands-free. Save it for the times where your hands are busy or simply you don’t find it convenient to use your fingers. What makes Voice Control so efficient is the Siri speech recognition engine that enables it to recognize speech with ease. Another thing worth keeping in mind upfront is that you must have to download a file before you can use Voice Control on your device. After the file has been downloaded, you can use it without needing to connect to a Wi-Fi network. Therefore, I would recommend you to connect to a Wi-Fi network before turning on Voice Control on your device.
Enable Voice Control on Your iPhone and iPad
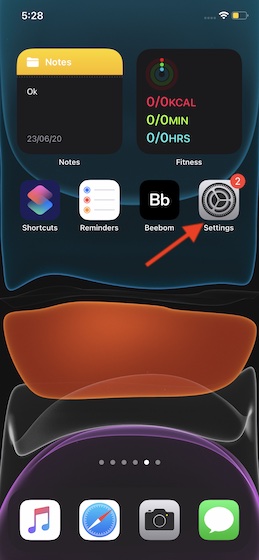
To get started, you need to first turn on Voice Control on your iOS device. To do it, simply fire up Siri and ask it to get the task done for you. Besides, you can also do it from the Settings app.
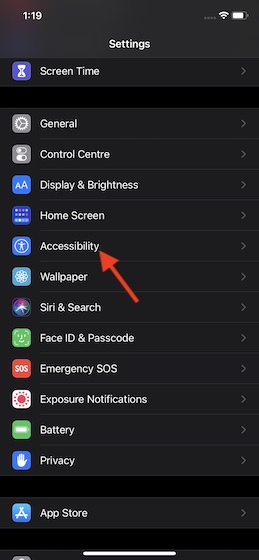
Now, tap on Accessibility.
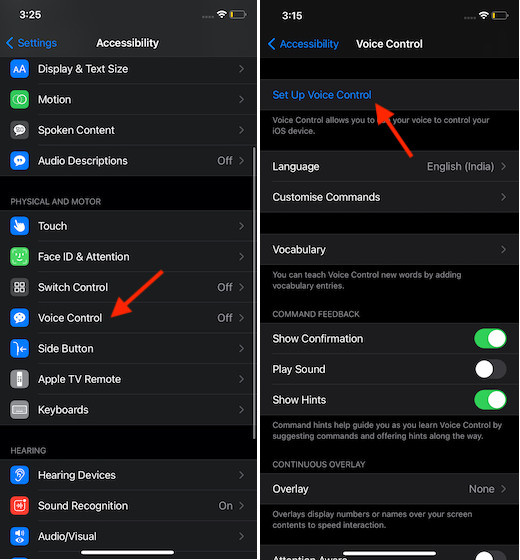
Next, tap on Voice Control and hit Set Up Voice Control.
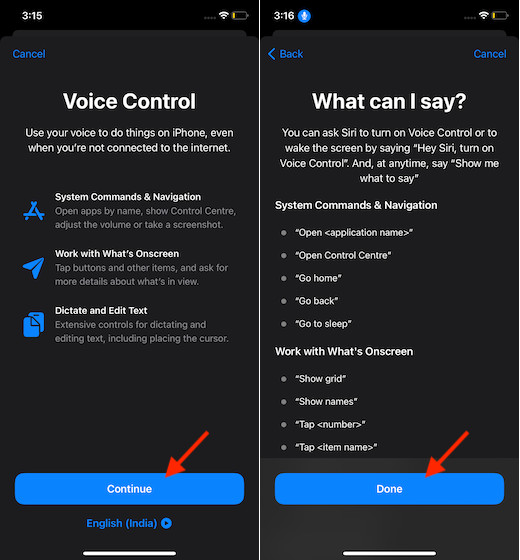
Tap on Set Up Voice Control and then hit Continue. Then, tap on Done to finish. (If you are using it for the first time, you will be asked to set it up.)
Note:
Now, a download will start in the background. Once the file has been downloaded on your iOS device, a microphone will appear in the status bar, confirming that the Voice Control is in action.
Sending Message Effects with Voice Control on iOS
Once you have activated Voice Control, say “Open Messages” to launch the stock messaging app on your device. Then, say “Tap Rachit (contact’s name)”.
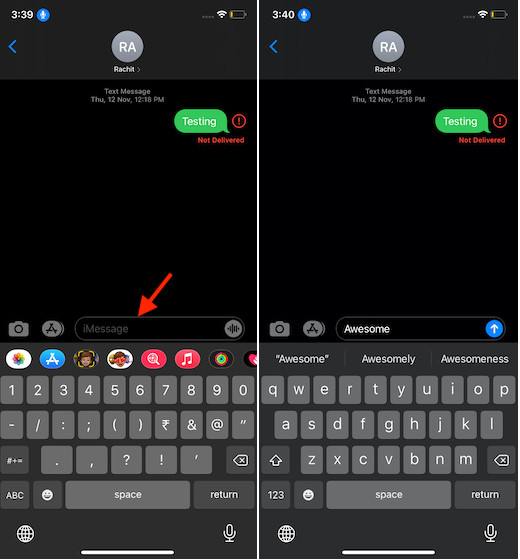
Say, “Tap iMessage” and then dictate it to enter the message you want to send. After that, say “Long-press send”.
Next up, the bubble effects menu will show up. Now, all you need to do to select a specific message effect is just say, “Tap Slam (the specific name of the message effect”.
If you want to send the iMessage with a screen effect, say “Tap Screen”. After that, say “swipe left/right” to switch between different screen effects. There are several screen effects like confetti, spotlight, heart, and more. Once you have selected a preferred effect, say “Tap send”.
Note: To make your task a bit easier, Voice Control also pops up the “action” right at the top of the screen. Besides, it also offers up suggestions to help you get things done properly.
Use Voice Control to Send iMessage with Screen and Bubble Effects on iOS
There you go! So, that’s the way you can use this Accessibility feature to send iMessage with the different screen or bubble effects. Times when you don’t want to give pain to your fingers to type messages and send it with effects, you should make the most of it to communicate with your friends or loved ones. As I said above, this is just the tip of the iceberg as Voice Control can let you carry out a number of tasks with ease. What’s more, you can also customize it for a fully personalized experience. So, fine it as per your needs and let us know how useful it is.
